Filters
ZonePro Retractable 3' ft. Wide Banners
Updated Full Pricing April 2025
ZonePro Retractable Banners 3' ft. x 28' ft.
The single unit Rolling Stanchion houses one canister that offers 12-foot coverage with rotating capability. The wheels are engineered for effortless mobility, while our custom fabric banners enable vivid, full-color branding.
ZonePro Retractable Banner Accessories
ZonePro’s custom graphic replacement banners can be easily created and swapped with your existing graphics. This extends the life of the ZonePro® and enhances your ROI.
ZonePro Graphics Guidelines and Specifications
Create Your ArtworkBefore designing your custom ZonePro® banner artwork, there are a few things to consider:
- Is it a dual-canister or a single-canister unit? If it's a single canister unit, will your canister be mounted on the left or right side?
- Will your finished banner expand to 8, 10, or 12 feet?
- Will your banner be single or double-sided?
Once these questions have been answered, use the following file specifications to create your graphics.
Follow This GuidelineFor the best possible result, please follow our color, file and resolution guidelines. This will allow your banner to be processed quickly and smoothly.
- All RGB colors should be converted to CMYK. If this doesn’t occur, the print will be dull and lifeless.
- We prefer vector-based files, but still accept raster-based files. Please indicate your file type when submitting your final artwork.
- Artwork with photographs and/or full-color backgrounds must be between 180 and 300 DPI at their final print size.
Compress your files into .zip format and upload them to our website. There are two ways to do this:
- Upload your artwork at the time of purchase by clicking the blue button that says Upload Art File(s) before clicking Buy Now.
- Upload your artwork after making a purchase. Contact Us.
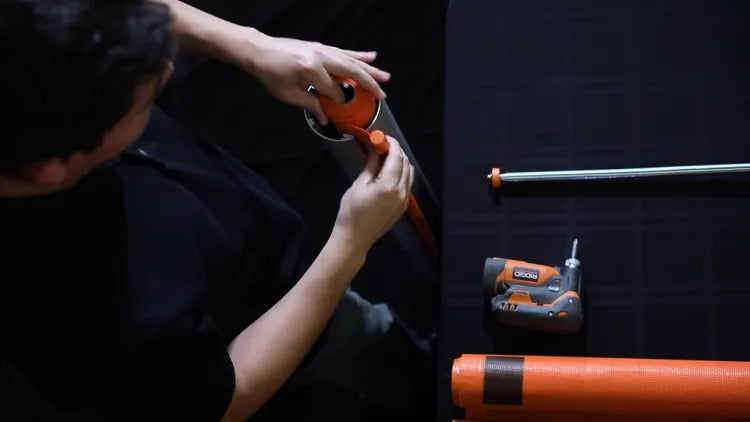
Banner Replacement Guide

Step One
Start by laying the ZonePro® and new fabric cartridge on a table or other flat surface.

Step Two
Unscrew the bottom cap with the "23 winds" sticker.
This side is spring-loaded, so be careful not to unwind the cap too quickly. Leave the screws inside the cap and put to the side.

Step Three
Remove the old fabric cartridge, making sure to keep upper plastic spool to use with the new fabric.

Step Four
Insert the spring assembly and plastic spool into the new fabric cartridge.

Step Five
Insert the new fabric into the ZonePro® case. Make sure the fabric is facing the same way as the spindle you removed.

Step Six
Rotate the cap 23 winds in the direction of the arrow. Push the cap back into place and tighten the screws. You’re all done!


